Build & Run Guide
- Run the Android Application:
- Select Android Device: In Android Studio, select an Android device from the target selector for running the app. If no device is available, create one using
Tools > Android > AVD Manager. - Run the App: Click the run icon in the toolbar or select
Run > Run from the menu. This will initiate the app’s deployment and execution on the selected Android device. - If you prefer the command line:
- Run the iOS Application:
- Prepare Flutter App on Mac: Ensure you have a test Flutter app set up on your Mac.
- Device Trust: On your iPhone, navigate to
Settings > General > Device Managementor Profile, and trust “Your Developer Name” to enable testing. - Xcode Setup: Install CocoaPods using the following command in the terminal:
- Open Xcode Workspace: Locate the
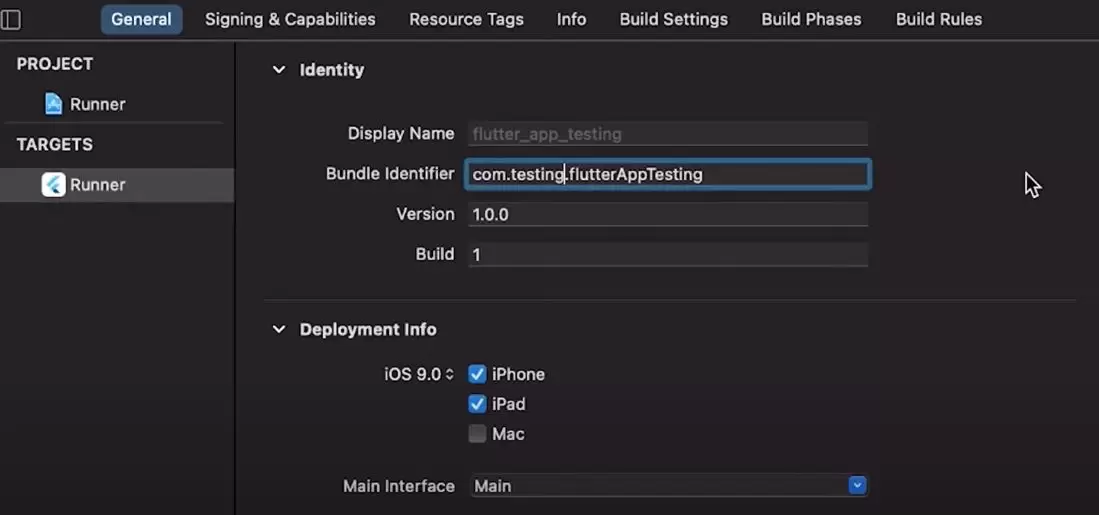
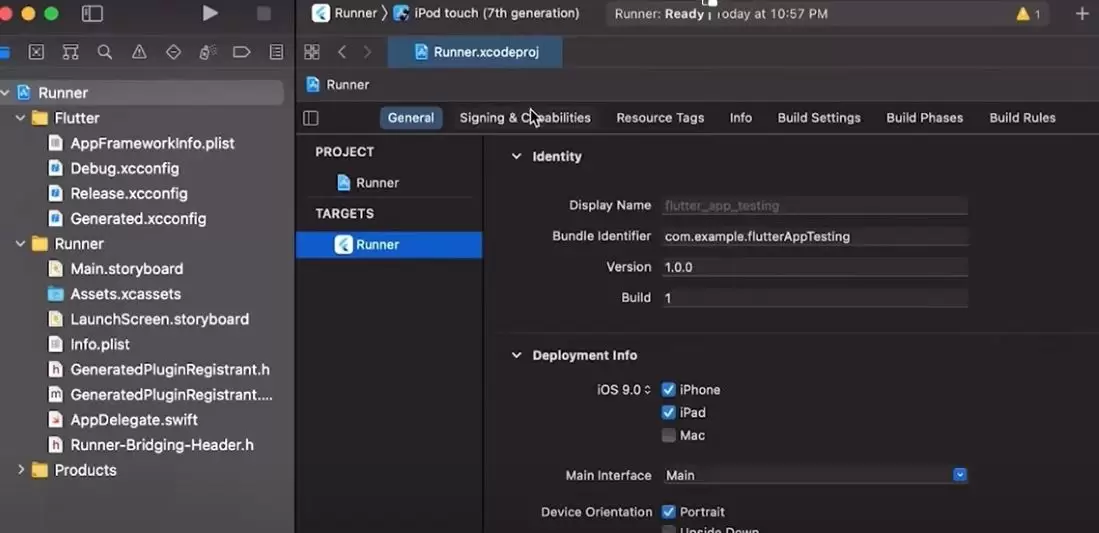
Runner.xcworkspacefile inside the ios folder of your Flutter project directory. Open this file in Xcode using the command: - Configure Signing & Capabilities: In Xcode, navigate to the Runner file in the left menu bar and go to the Signing & Capabilities page. Click “Add an Account” to add your Apple ID and password. Then, change the Bundle Identifier to a unique value.
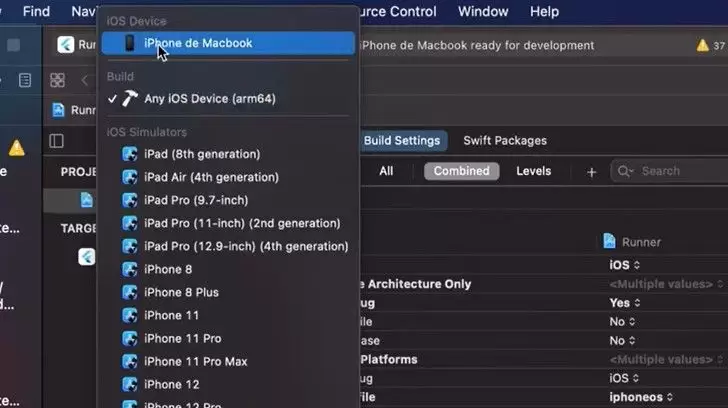
- Connect iPhone: Connect your iPhone to your Mac. In Xcode, select your iPhone device from the device list.
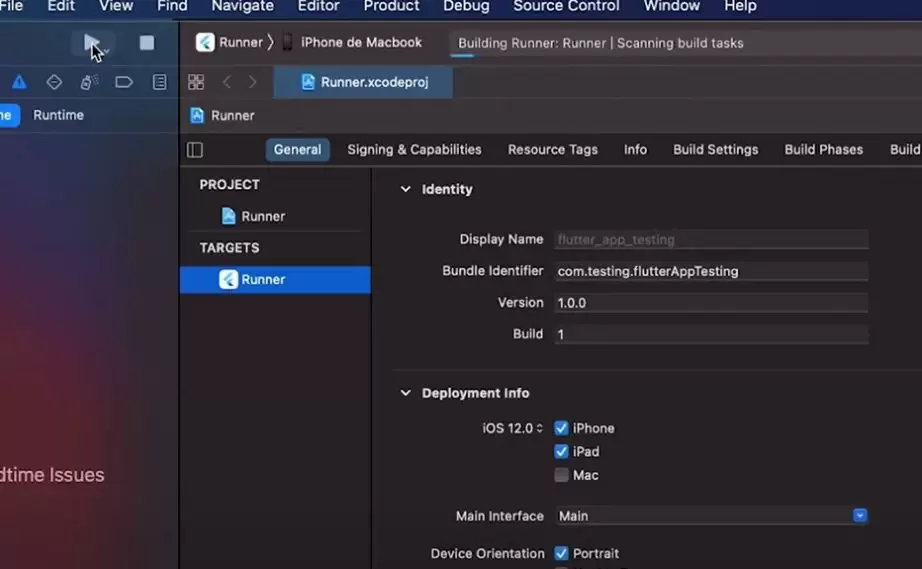
- Build and Run: Click the play button in the left menu bar to start building the app on your iPhone. This process may take some time.
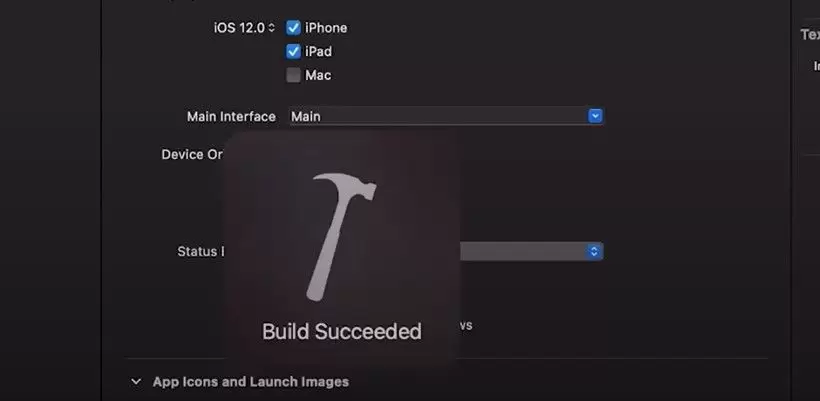
- Completion Message: Once the build process is completed successfully, you’ll see a message indicating the successful build.
flutter run 
$ sudo gem install cocoapods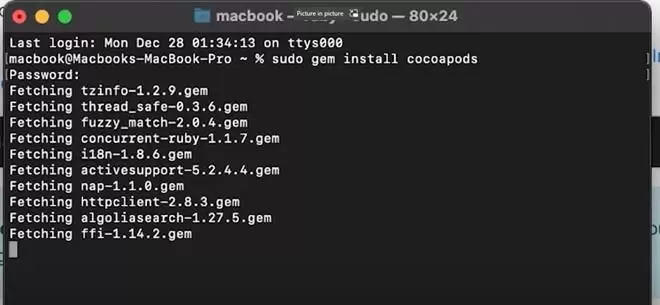
$ open ios/Runner.xcworkspace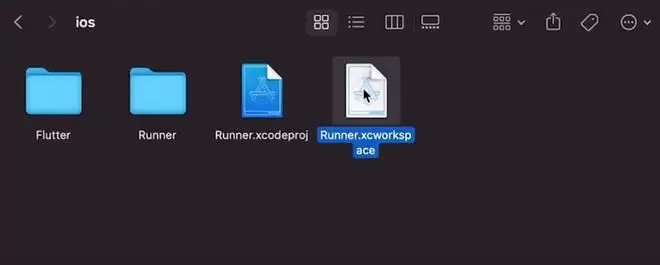
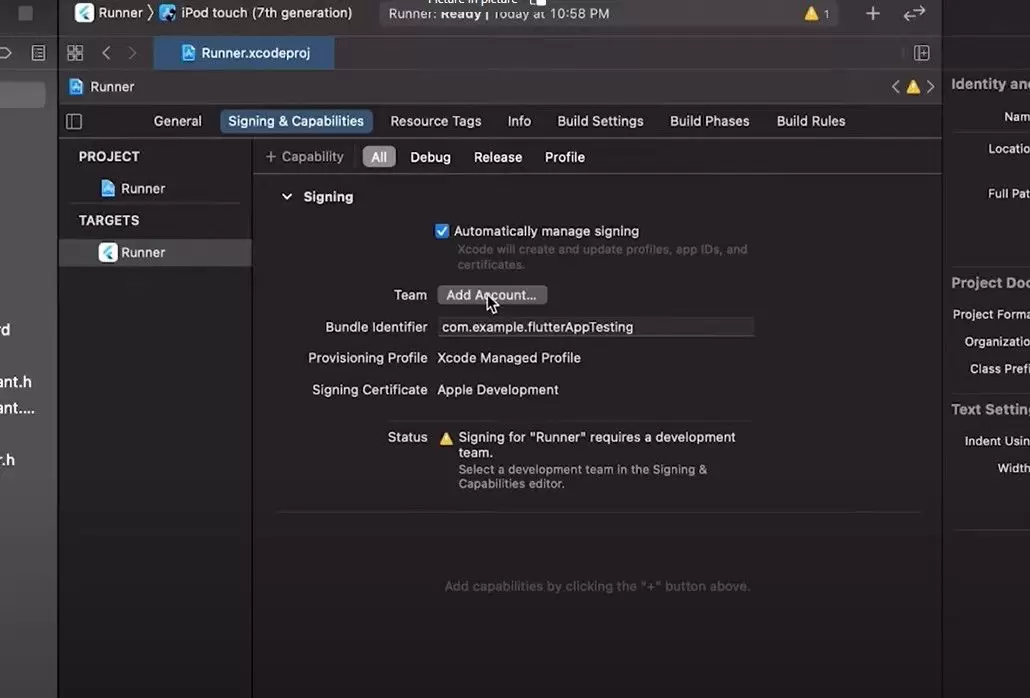
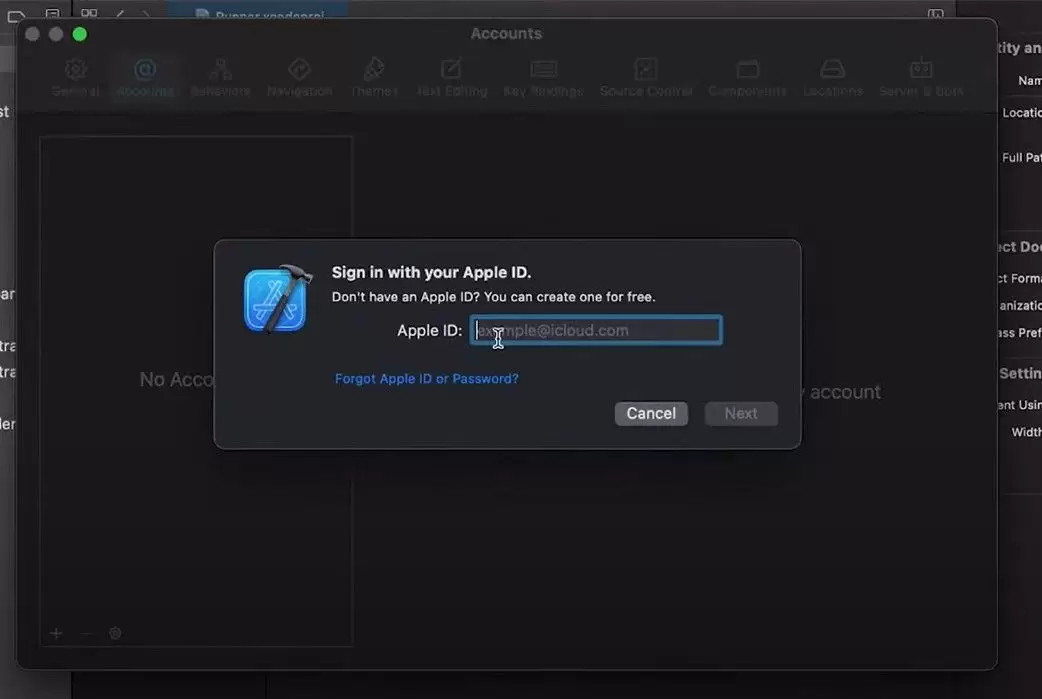
Conclusion: By following these steps, you can build and run your Flutter app on both Android and iOS devices. Ensure that your development environment is properly configured and that you’ve trusted your device for testing on iOS. If you encounter any issues during the process, refer to the Flutter documentation or seek assistance from the Flutter community. Happy app development!